| | | |
Home > Online Help > Audio Editor > Trim Audio
This tutorial explains how easily you may trim audio with just couple of clicks.
Do you need to trim audio and remove unwanted parts? Does your audio file has some silence or pre-recorded parts which should be removed? Then DJ Audio Editor is your best option by offering built-in trim function to easily undertake this task, since it supports all popular video and audio formats including DVD, MOV, MP4, Audio CD, WAV, WMA, MP3 and lot more.
Learn how to trim audio in just a few steps with Program4Pc Audio Editor.
Step 1: Download and Install Our Convenient Audio Editor
Download Now
How to Trim Audio File
This tutorial explains how easily you may trim audio with just couple of clicks.
Do you need to trim audio and remove unwanted parts? Does your audio file has some silence or pre-recorded parts which should be removed? Then DJ Audio Editor is your best option by offering built-in trim function to easily undertake this task, since it supports all popular video and audio formats including DVD, MOV, MP4, Audio CD, WAV, WMA, MP3 and lot more.
Learn how to trim audio in just a few steps with Program4Pc Audio Editor.
Step 1: Download and Install Our Convenient Audio Editor
Download Now

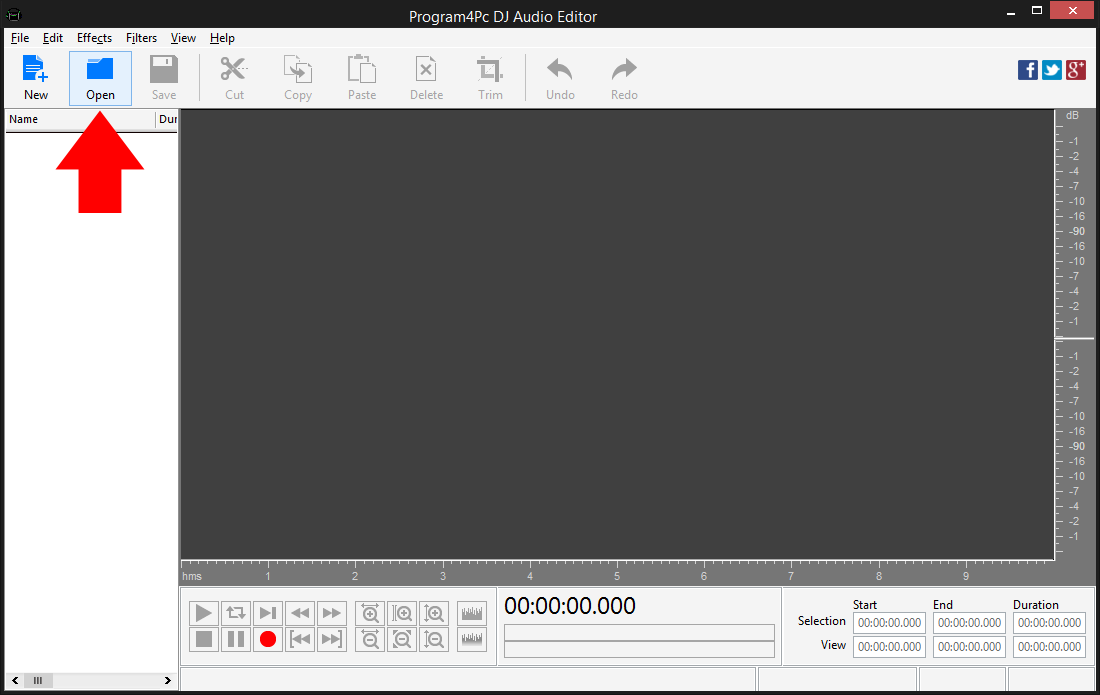
Step 2: Start the Program and Add Audio
Step 3: Select Desire Portion of Audio and Trim
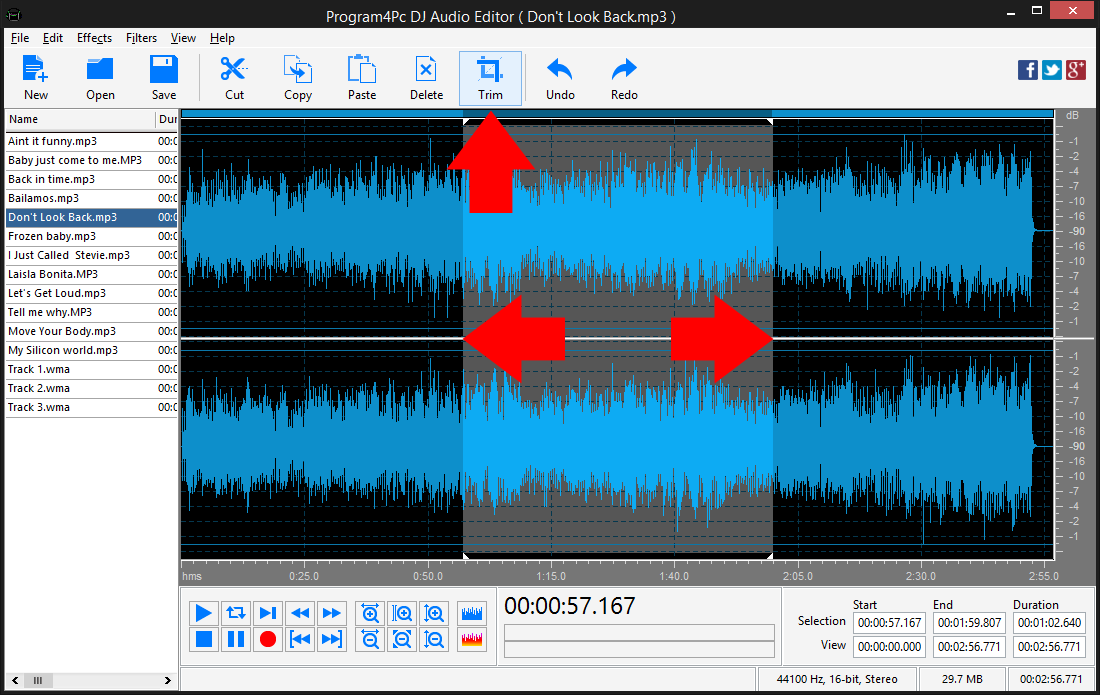
Click the Trim button in the top of Audio Editor interface to trim audio track, keep selected portion and remove the rest of it.
The trimmed part (remaining portion) will be shown in Waveform display as full length for your convenience.
Step 4: Set the Output Format and Save the Trimmed File
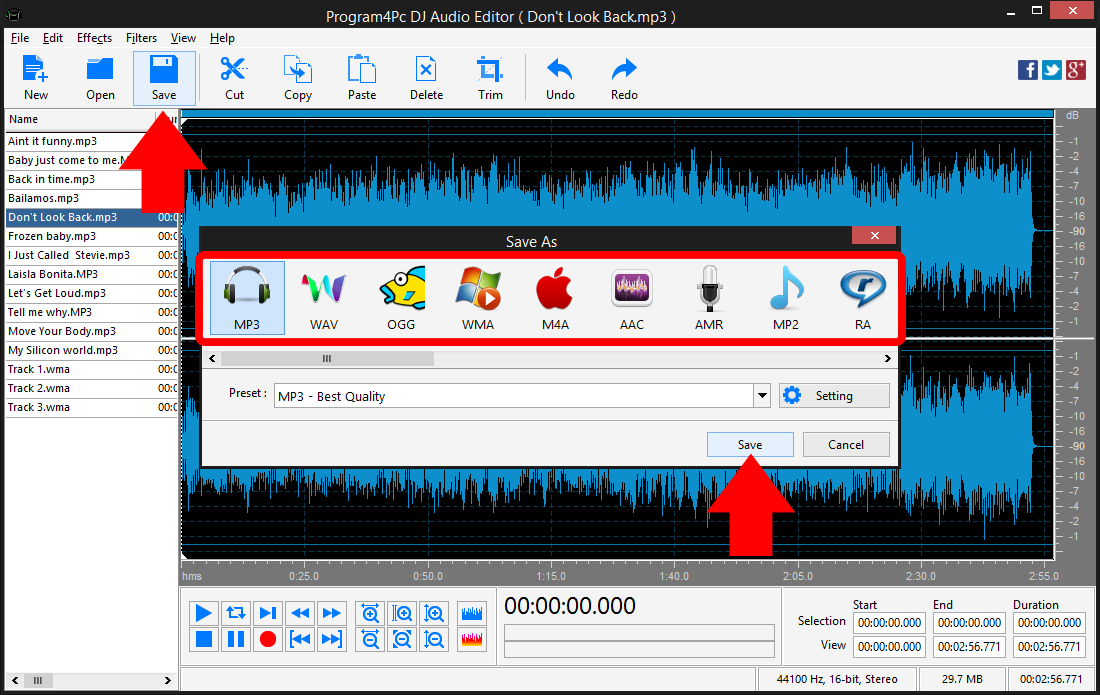
Finally click Save and choose the folder in which to place the edited file by either selecting the default folder or choose the new folder.
That's it!
Trimming audio has never been easier, and you did it in just a couple of clicks.
It is very easy, now you know how to trim any audio file and remove parts you don't need any more.
Download Audio Editor
Trimming audio has never been easier, and you did it in just a couple of clicks.
It is very easy, now you know how to trim any audio file and remove parts you don't need any more.
See what else Program4Pc Audio Editor can do for you:
- Edit audio file
- Merge audio files
- Edit audio CD tracks
- Apply effects on audio file
- Use filters on audio file
- Record audio
- Create ringtone for iPhone
- Edit audio tag