| | | |
Home > Online Help > Audio Converter > Trim Audio
This tutorial explains how easily you may trim audio with just couple of clicks.
Do you need to remove unwanted parts of audio? This process is called trim which allows you to select desired portion of audio (signal) file and remove the rest, because sometimes at the beginning and end of audio file there are some noise, hiss, and hums which should be cleaned up.
Program4Pc Audio Converter is your best option by offering built-in trim function to easily undertake this task.
Learn how to trim audio in just a few steps with Program4Pc Audio Converter as simple as 1-2-3.
Step 1: Get Program4Pc's Audio Converter
Download Now
How to Trim Audio File
This tutorial explains how easily you may trim audio with just couple of clicks.
Do you need to remove unwanted parts of audio? This process is called trim which allows you to select desired portion of audio (signal) file and remove the rest, because sometimes at the beginning and end of audio file there are some noise, hiss, and hums which should be cleaned up.
Program4Pc Audio Converter is your best option by offering built-in trim function to easily undertake this task.
Learn how to trim audio in just a few steps with Program4Pc Audio Converter as simple as 1-2-3.
Step 1: Get Program4Pc's Audio Converter
Download Now

Step 2: Open Audio Files You Wish to Trim
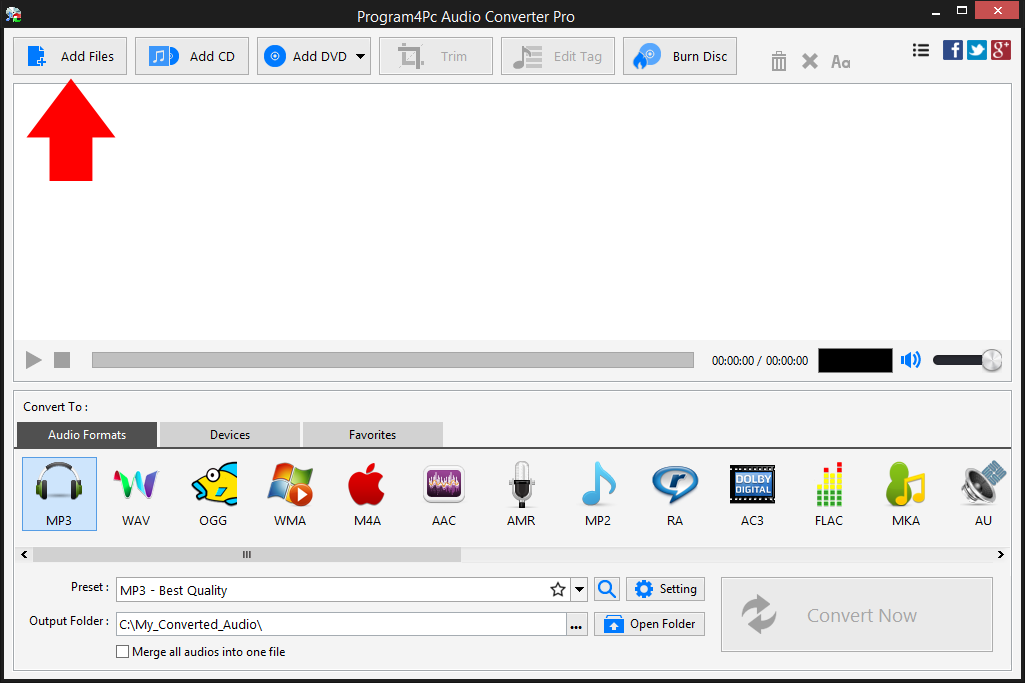
To convert and trim audio CD or DVD's audio simply click Add CD and Add DVD buttons.
Step 3: Choose an Audio File to Trim
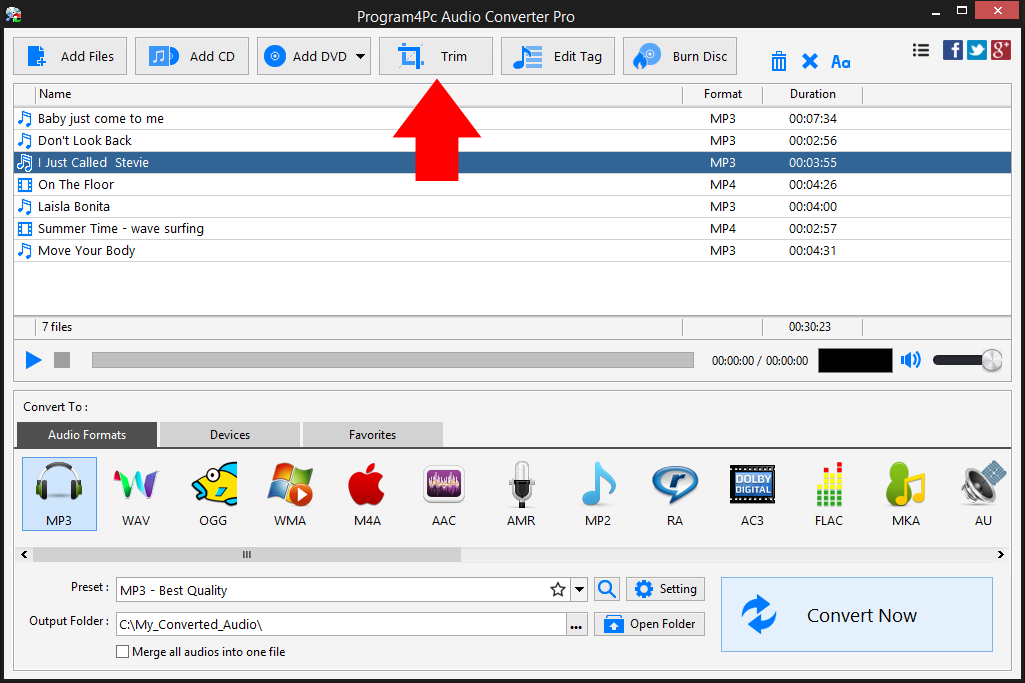
Step 4: Select Desire Area and Trim Your Audio
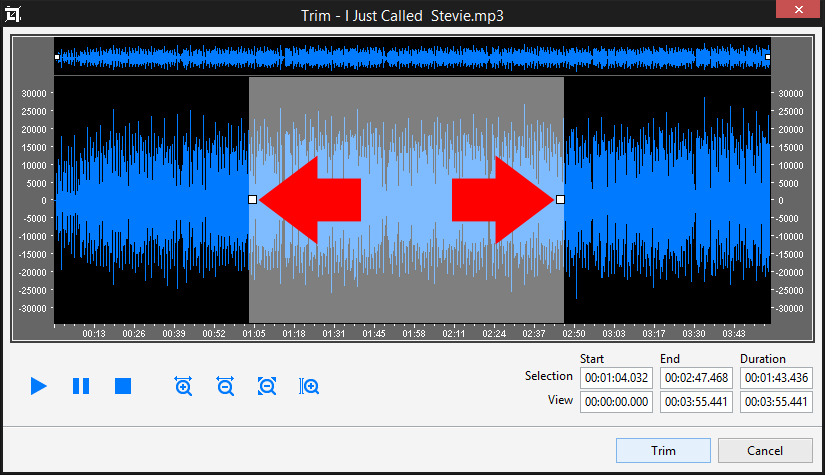
Click the Trim button to trim audio track, keep selected portion and remove the rest of it.
Step 5: Save and Convert the Trimmed Audio

Choose the folder in which you want to place your converted files in the Output Folder line. Then click Convert Now to start the process, which may take from one to several minutes depending on the number of files you convert and their sizes.
That's it!
The audio file has been trimmed and you deleted unwanted parts of audio as fast as possible.
Download Audio Converter
The audio file has been trimmed and you deleted unwanted parts of audio as fast as possible.
See what else Program4Pc Audio Converter Pro can do for you:
- Convert audio file
- Rip audio CD
- Convert DVD's audio
- Merge audio files
- Create and burn an audio CD
- Create and burn MP3 CD / DVD
- Convert video to audio
- Create ringtone for iPhone
- Edit audio tags